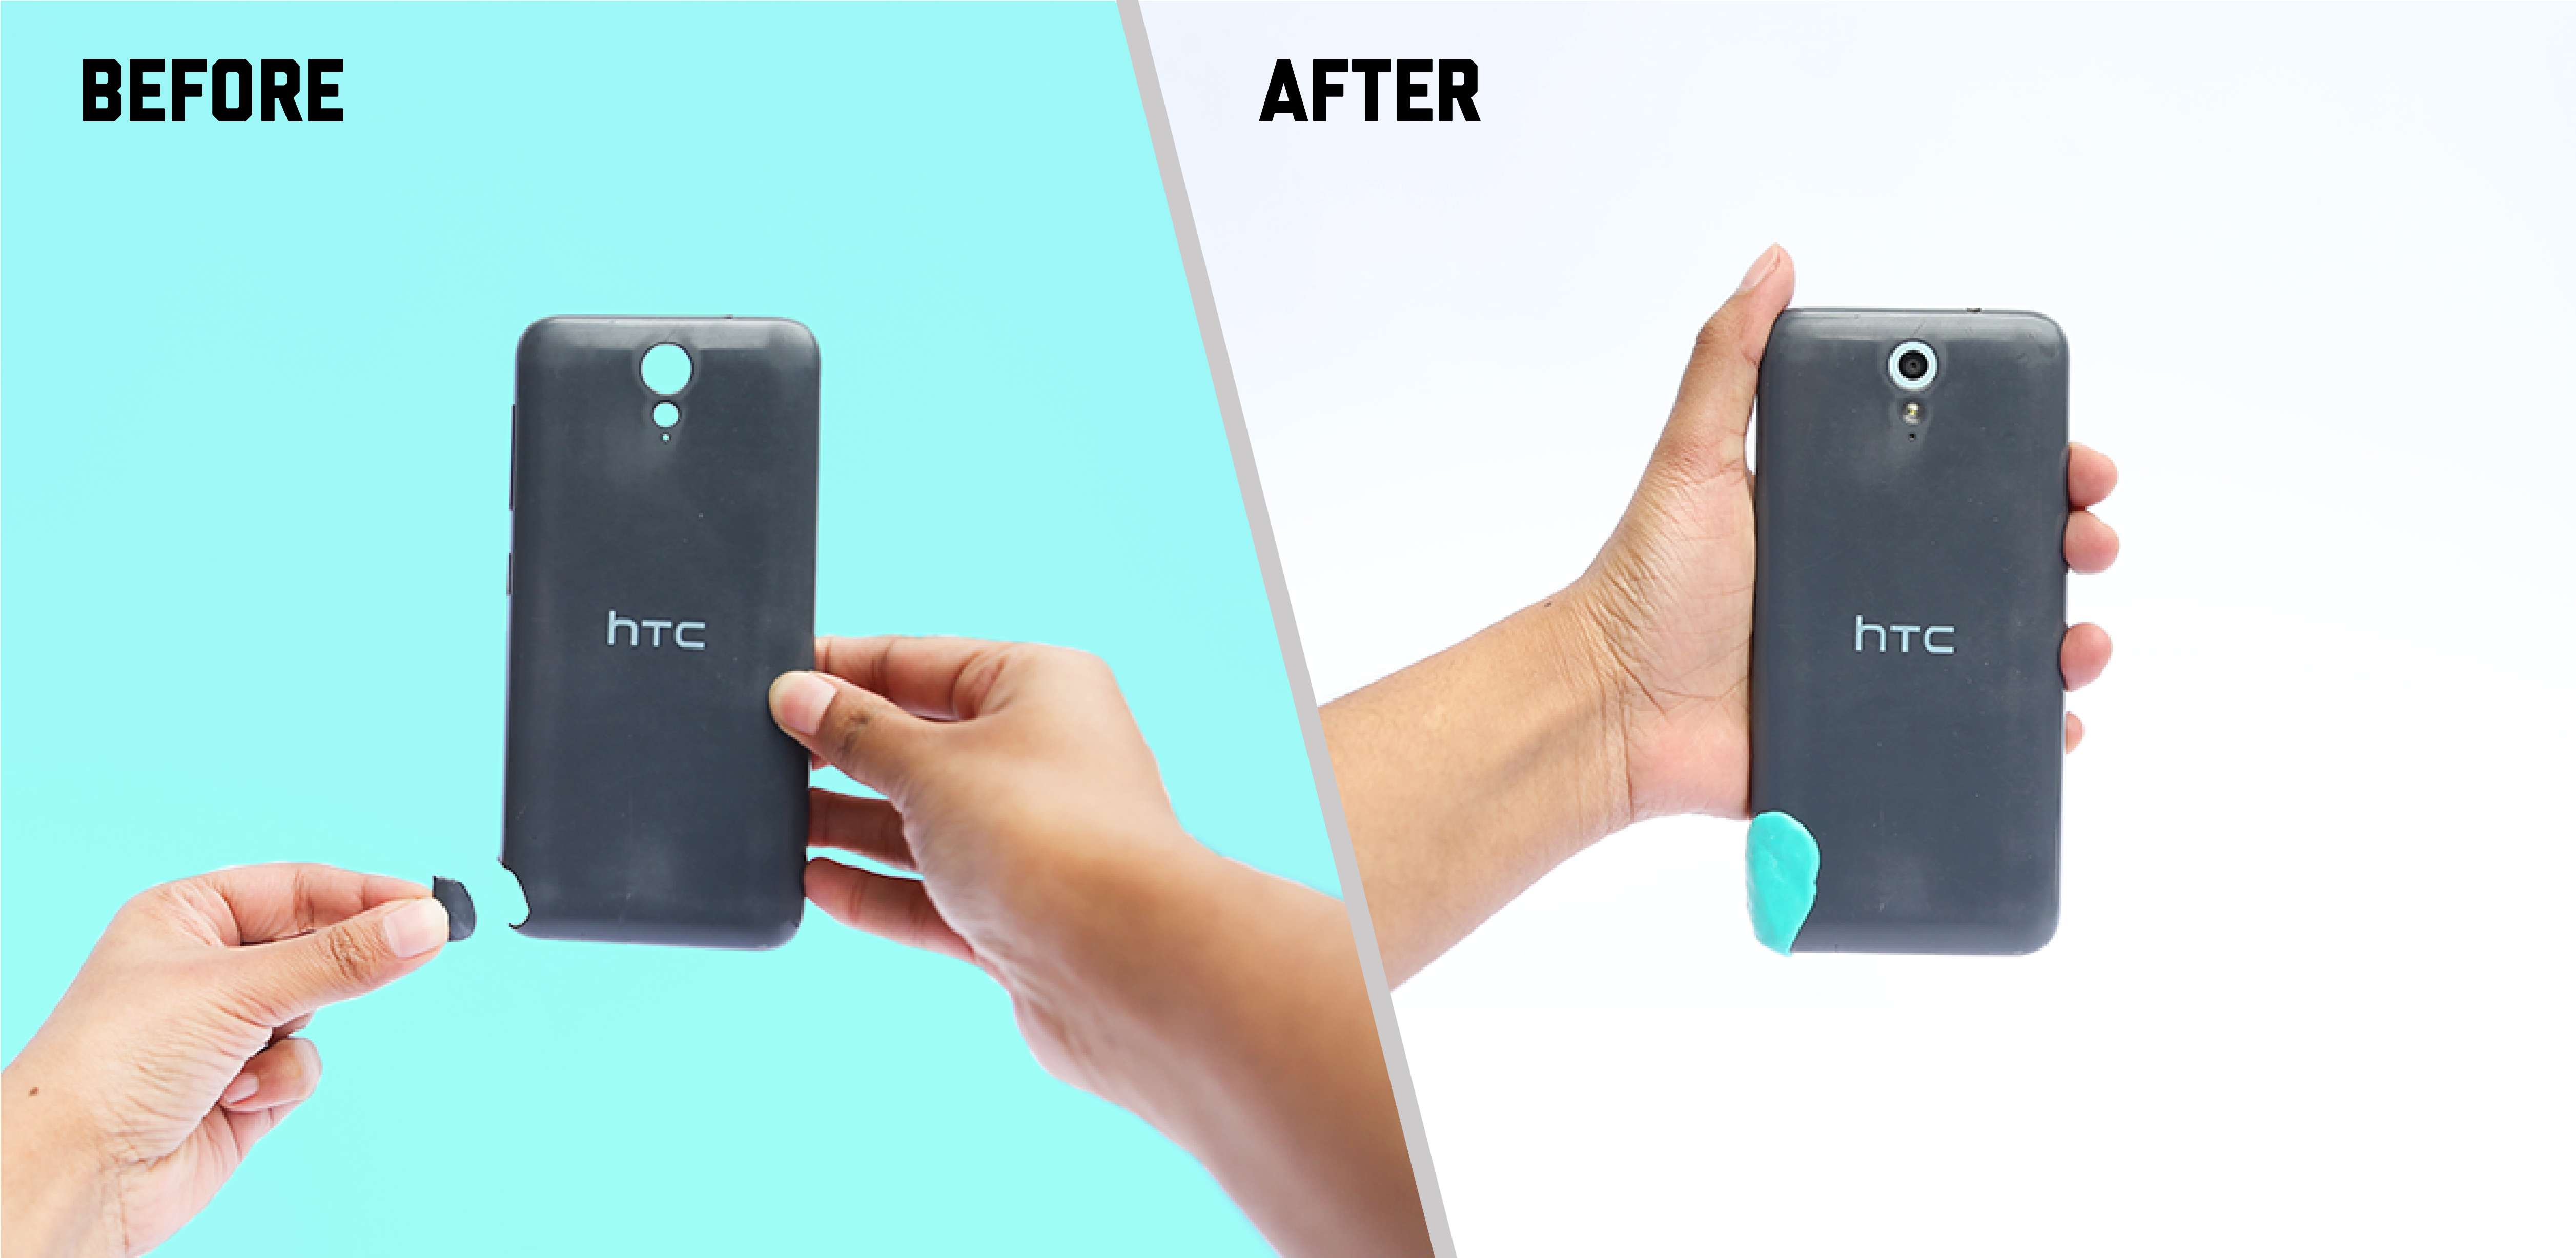
Repair snapped parts by creating new solid sections using FixIts
Did you know that the total waste created to make just one mobile phone is around 85kg, including up to 40kg of toxic liquid waste.
Calculated by researchers in Sweden, using Life Cycle Analysis, a 160 gram phone creates over 500 times it's own weight in waste to make it. Source: Laurenti, R., et al (2017). Waste Management and Research, 35(1), 65-78.
What you'll need?
- A kettle or a pan on a hob to boil water
- A glass or ceramic cup (avoid plastics as FixIts can stick to it)
- Hairdryer (optional)
- Scalpel or Cutting knife
- Scissors
- Cling film or Shrink Wrap
- FixIts sticks.
Step 1 - Create Notches and Scratches
Using a scalpel or sharp knife create scratches on the surface of the phone cover just outside the chipped part, and create small notches on edge of the broken part - as shown below.
By creating these small cut outs and scratches, you effectively create undercuts for FixIts to grip onto.

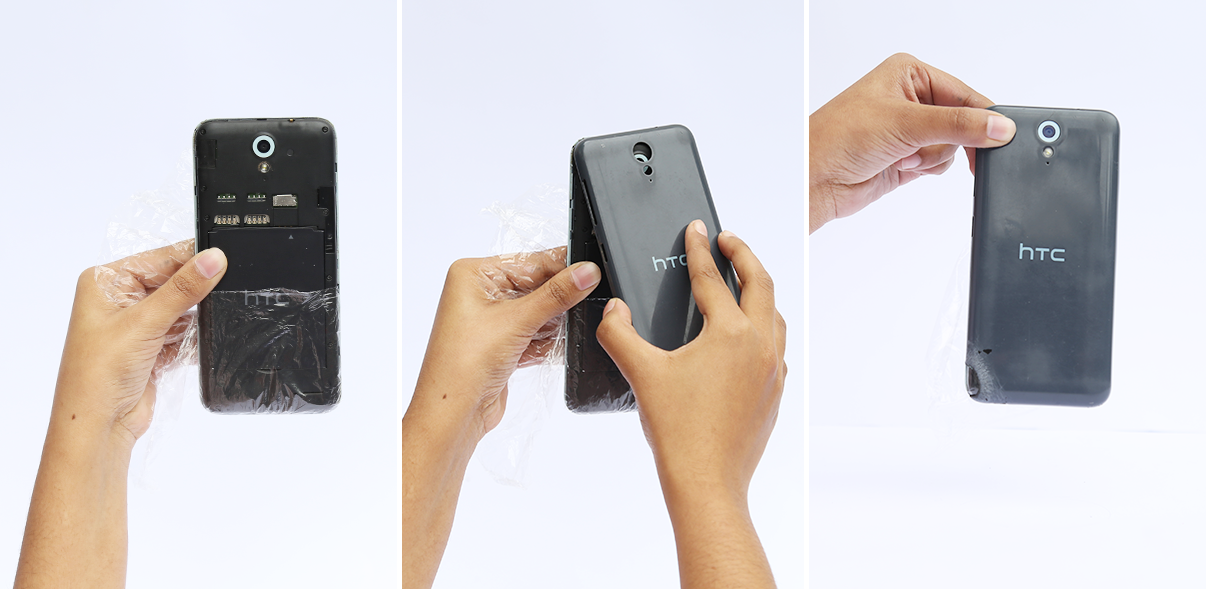
Step 2 - Wrap the cling film around the phone
Cut some cling film or shrink wrap and wrap it around your phone - as shown in the image below, make sure that the cling film goes into all the little crevices of your phone. Now, attach the phone cover.
The reason we do this is because FixIts can bond to some plastics. To prevent anything from bonding to things we don't want it to, we can use plastic wrap (which FixIts doesn't stick to).
FixIts doesn't normally stick to smooth surfaces but it does sometimes form a bond with plastics. If you want to form an adhesive like bond you can use adhesives in conjunction with the structural fix of FixIts!
Step 3 - Soften the FixIts Stick
Four easy steps, Heat water, Dunk you FixIts for at least one minute in the hot water, remove your FixIts, Pinch off what you need.

Step 4 - Mould On the Chipped Area
Take your blob of FixIts and press it firmly onto the phone case (on the broken part). It's good if FixIts can go into all the little notches and scratches that we made before, so try to apply some pressure on the FixIts to fill in all the crevices on the phone and the notches we made.
Pro tip: You can always soften the FixIts using a hairdryer to make it malleable and mould until you are satisfied.

Step 5 - Remove the Cling Film Carefully
Wait until the FixIts has fully cooled and hardened, then you can remove the phone case and carefully peel off the cling film.

Step 6 - Finishing Touches
You are almost done! To clean up your fix, soften the FixIts a little using a hairdryer on hot (or dip the FixIts back into hot water), and cut out (or smooth with your finger) the extra parts using a pair of sharp scissors (or a sharp craft knife). Save your left over pieces for a later project.

All Fixed!


Leave a comment (all fields required)